Create Job Plan
Objective: Gain an understanding of how to create a Job Plan.
Job Plan Workflow
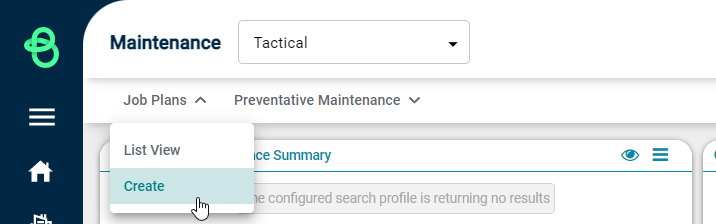
From the Navigation Sidebar, select 'Maintenance' and from the Navigation Dropdown, select 'Tactical' or simply click the Tactical tile on the Maintenance Dashboard.

Click 'Create' within the Job Plans menu to open the Job Plans 'Create' page:

This will result in the following page being displayed:
Job Plan Details
The Job Plan Details section displays all data specific to the job plan as follows:
-
Status: An automatically updated field based on the "Save" function in the "Actions" tab.
-
Job Plan ID: This is an automatically populated field by the system.
-
Created Date: This is an automatically populated field by the system.
-
Creator: This field is automatically populated field by the user of the system.
-
Name: A free text field to enter the name of the job plan.
-
Description: A free text field to describe the job plan.
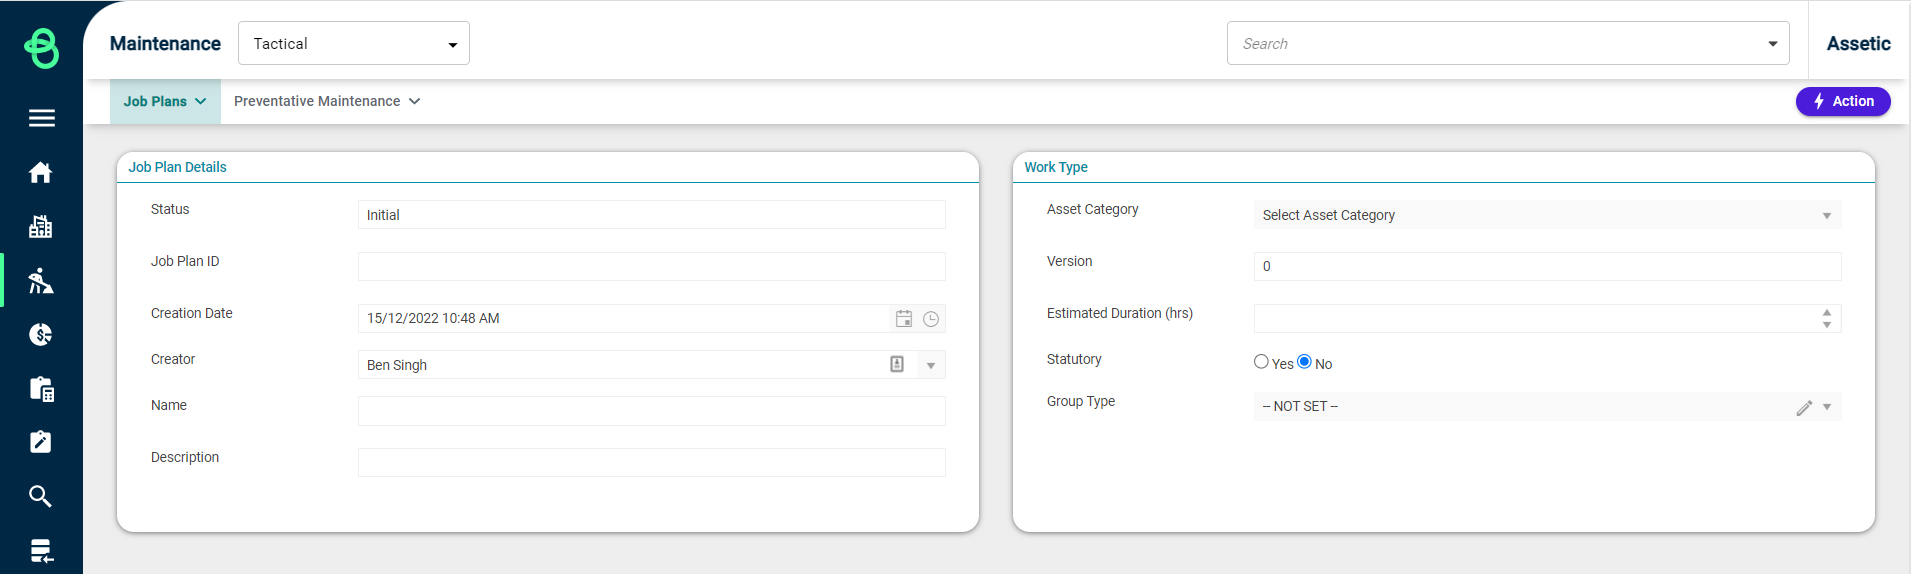
Work Type
The Work Type section displays the data as detailed below:
-
Asset Category: A mandatory drop-down list to select which Asset Category the Job Plan will belong to. When adding Job Plans to a Preventative Maintenance program, the Asset Category must match. Note that for PM programs without a specified Asset Category, any Job Plan can be added regardless of the Job Plan's Asset Category (including multiple Job Plans with differing Categories) and all the Job Plans can be used for WO creation even if they do not match the Asset's Asset Category.
-
Version: An automatically populated field that details the current version of the job plan.
-
Estimated Duration (hrs): Enter the estimated duration for the job plan to be completed.
-
Statutory: If a job is a statutory task select "Yes" if not select "No".
-
Group Type: A drop-down list that allows for the group type to be selected.
Once the Job Plan Details and Work Type sections are populated with relevant data, click on the Actions menu and select 'Save (Save as Draft)' button. This will display the following message confirming the Job plan has been created:

The page will now reload with additional sections to populate:

Tasks
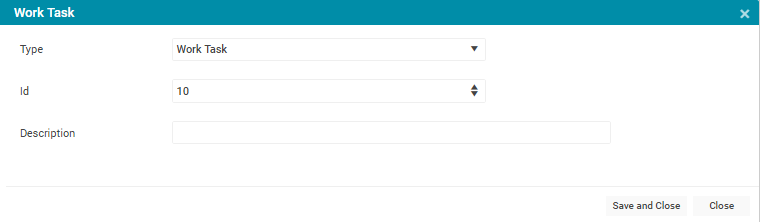
This section is where 'Tasks' are added to the job plan. Click 'Add Task' to add a new task line, and a new window is displayed:
-
Type: A drop-down field to select from the available drop-down list.
-
Id: Automatically generated number that is sequential and increasing by units of 10.
-
Description: A free text field where the work order creator enters the task description.
At this stage, it is usually appropriate to select the 'Save and Close' button and a new Work Task is added to the Tasks.

Labour

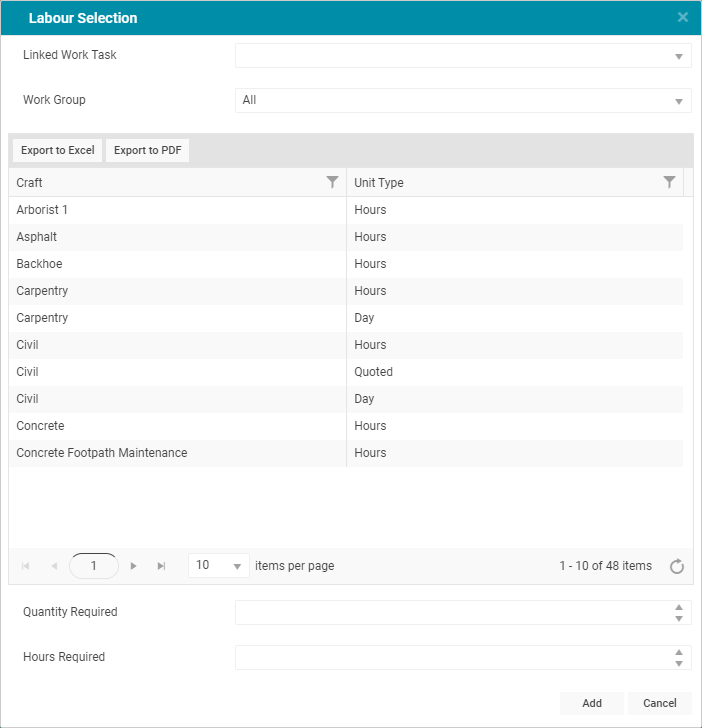
Click on the 'Add Labour' button to open the screen (below) where planned labour can be added:
-
Linked Work Task: A drop-down field to select the Work Task ID to link the Work Task to a Labour.
-
Work Group: A drop-down field to select an available Work Group.
-
Craft: The "Craft Selection" panel enables workgroup and craft to be added to the task by first finding the appropriate workgroup and craft and then selecting the Quantity Required and Hours Required by using the arrow buttons.
-
Quantity: The total quantity of the selected Craft.
-
Hours: The total hours required for the selected Craft.
-
Export: It is also possible to export this data to Excel or PDF by clicking on 'Export to Excel' and 'Export to PDF' respectively.
Once the 'Quantity Required' and 'Hours Required' fields are populated, click 'Add' to add crafts to Labour:

Resources
Once Labour has been added to the Job Plan, default Resources can be assigned to that work in the Resource grid:
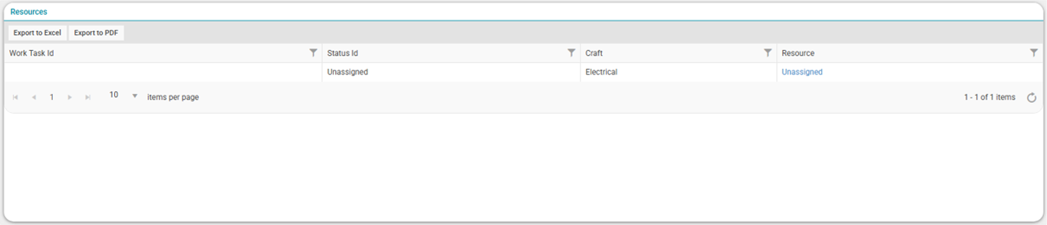
To assign a Resource to the work, click on the hyperlink in the Resource column to open the 'Assign Resource' pop-up:
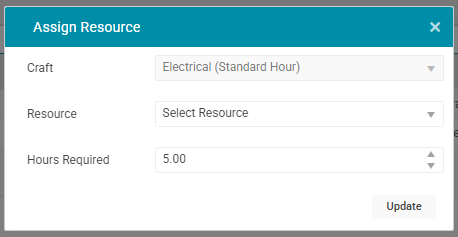
This will allow a default Resource with the appropriate Craft to be assigned to the work. When a Job Plan is used as part of a Work Order in a Preventative Maintenance program or when using Import from Job Plan, if a default Resource is assigned and belongs to that Work Order's Work Group, then they will be automatically assigned to the work in that Work Order.
Materials

Click on the 'Add Material' button to open the screen (below) where Materials can be added to the Job Plan:
Linked Work Task: A drop-down field to select the Work Task ID to link the Work Task to a Material.
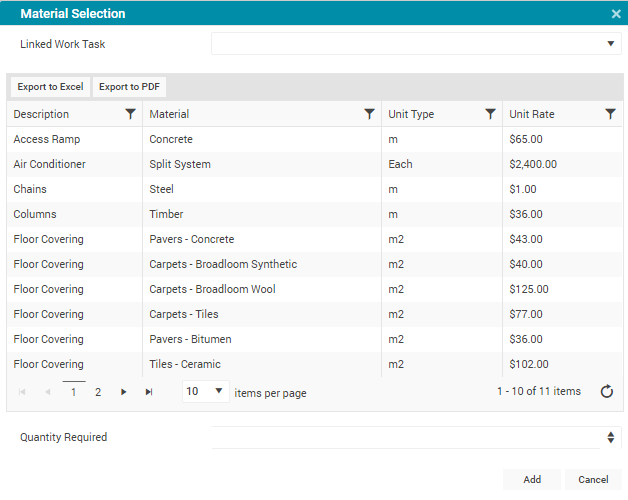
Select a Material and select the Quantity Required by clicking on the arrows. Click 'Add' and the Material will be added to the Job Plan:

Services
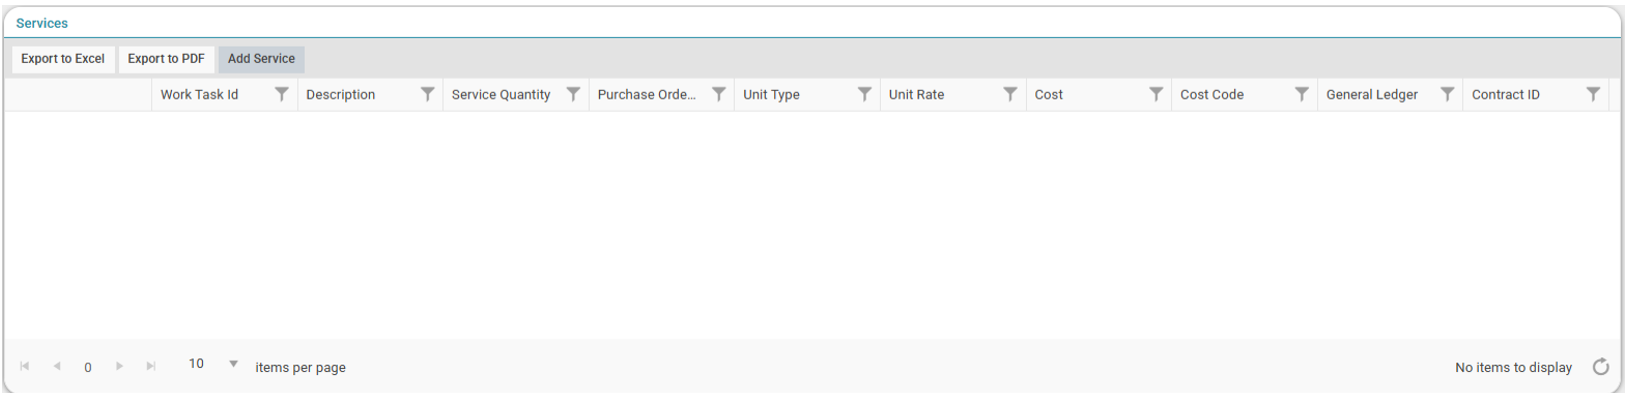
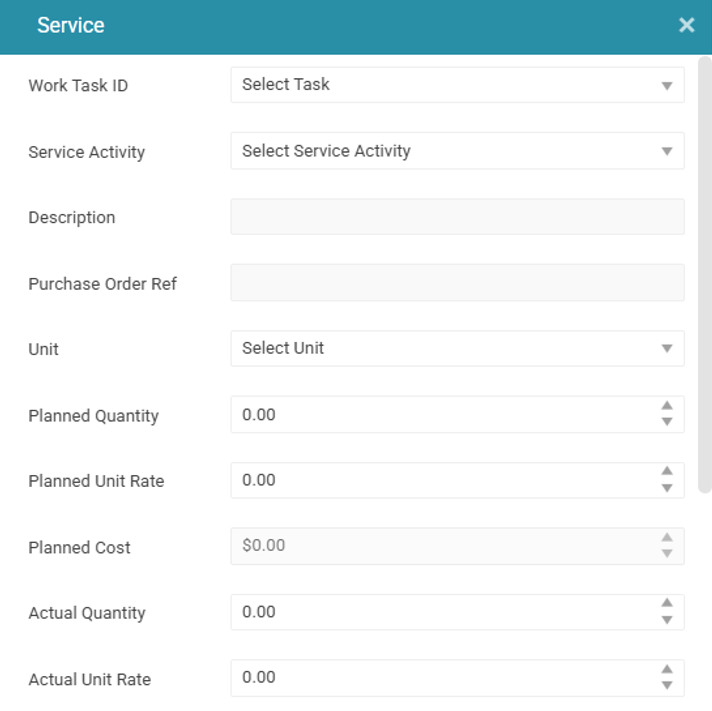
Click on the 'Add Services' button to open the screen (below) where Services can be added to the Job Plan:
-
Work Task ID: A drop-down field to select a task.
-
Service Activity: A drop-down field to select the Service Activity.
-
Description: A text field to enter a description.
-
Purchase Order Ref: A free-text field for a purchase order reference.
-
Unit: A drop-down field to select from the list of available units.
-
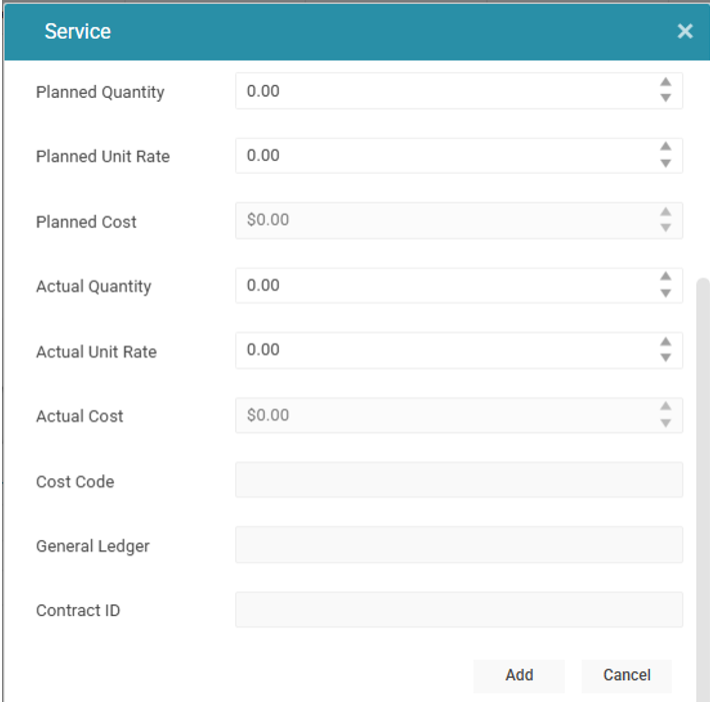
Planned Quantity: The planned amount of Service required.
-
Planned Unit Rate: The planned per-unit cost of the Service. This can be pre-filled by selecting a Service Activity from the Service Activity field when adding a Service.
-
Planned Cost: A calculated field that shows the planned total cost of the Service.
-
Actual Quantity: The actual amount of Service required.
-
Actual Unit Rate: The actual per-unit cost of the Service. This will populate by default with the same value as the Planned Unit Rate, but can be changed.
-
Actual Cost: A calculated field that shows the actual total cost of the Service.
-
Cost Code: It is an optional free text field to populate cost code, if applicable.
-
General Ledger: It is an optional free text field to capture the GL code used for integration with the Accounting system.
-
Contract ID: This is an optional free text field to capture the Contract ID.
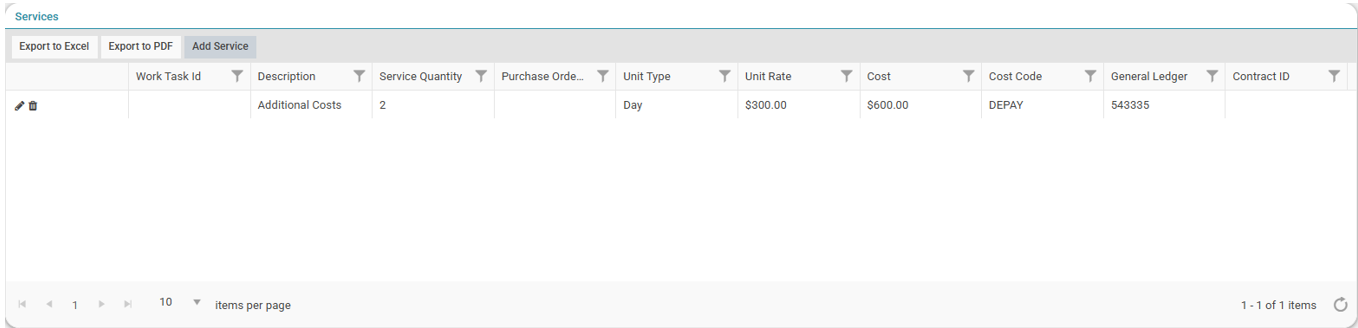
Once the required fields are populated, click on the 'Add' button to add the Services to the Job Plan:
Additionally, it is possible to export the task information to excel or PDF by clicking on 'Export to Excel' and 'Export to PDF' buttons, respectively.
Additional Info
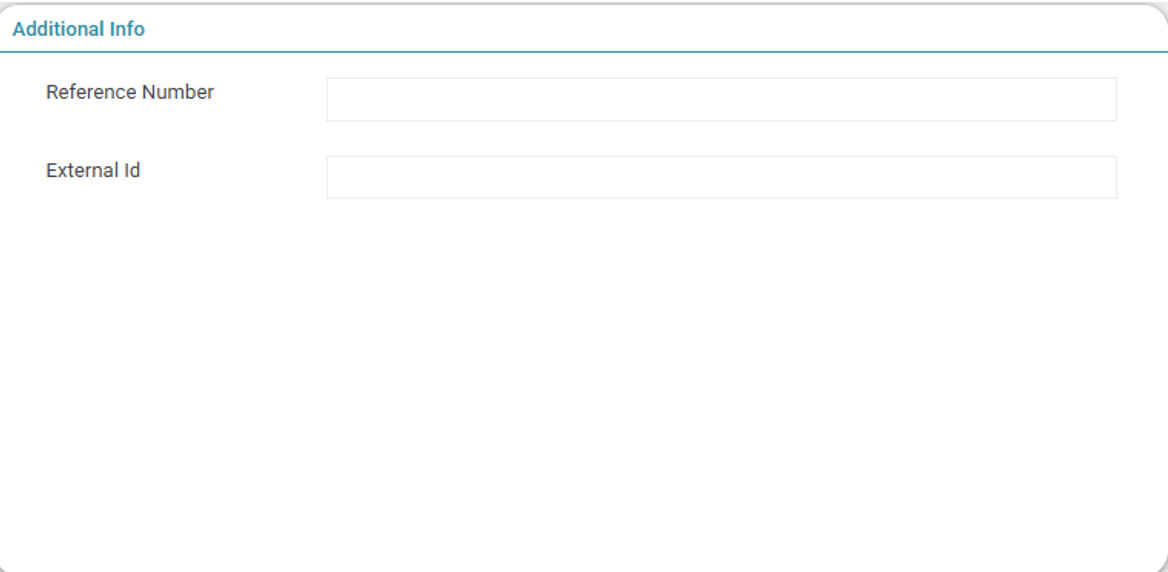
-
Reference Number: A free-text field that can be used to store any reference number. If the Work Order was created from a Work Request, this field will be pre-populated with the Reference Number field from the Work Request.
-
External Id: This field is available to reference an external ID either through integration or manual input.
Attachments
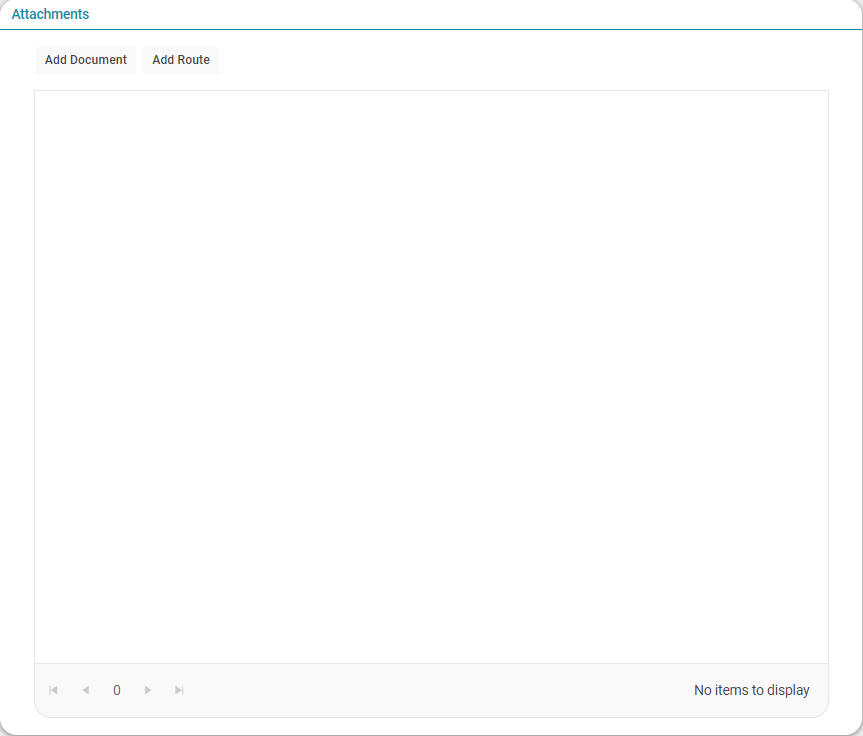
The attachment panel enables a user to add documents or routes that are important to the work order. This can include items such as photos, manuals, check sheets, links, and other information important to the execution of the work order.
Add Document
To add a new document, click the "Add Document" button:
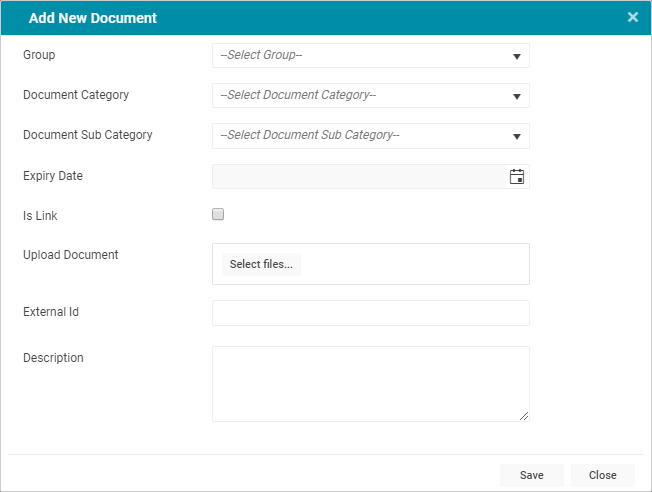
The above screen is produced with the following fields able to be entered:
-
Group: Clicking this produces a drop-down list that indicates what type of file is being added.
-
Document Category: Clicking this produces a drop-down that indicates what type of category the document belongs.
-
Document Subcategory: Clicking this produces a drop-down that indicates what type of subcategory the document belongs.
-
Expiry Date: Clicking this produces a calendar that enters a date at which the document will no longer be active.
-
Is Link: This is a tick box to provide a link to the new document, rather than uploading a file.
-
Once this box is ticked, 'Upload Document' field becomes inactive, and the following fields need to be completed:
-
Document Label: a free text field to enter the label for the document
-
Document Link: paste the hyperlink to the document
-
-
Upload Document: This field is only available when the users do not select to attach a link to the Documents. If this is available, it is mandatory to click the "Select files" button to upload a document.
-
External ID: External identifier is a free text field that allows clients to add the identifiers that are contained in a separate system.
-
Description: A free text field to store a description for the attached document.
Click "Save" to save the document against the record.
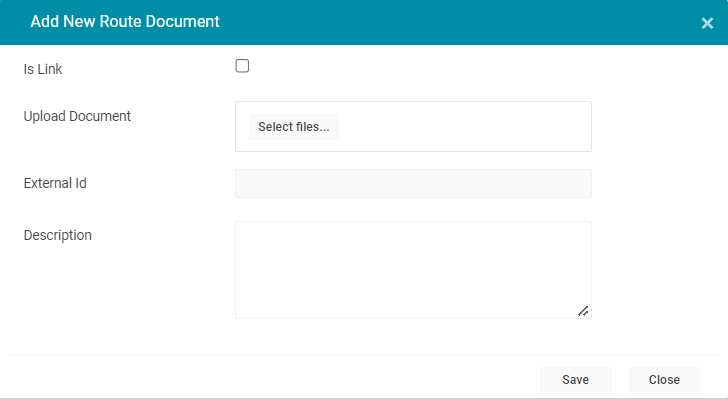
Add Route
To add a new Route file, click the "Add Route" button:
-
Is Link: This is a tick box to provide a link to the new document, rather than uploading a file. Once this box is ticked, 'Upload Document' field becomes inactive, and the following fields need to be completed:
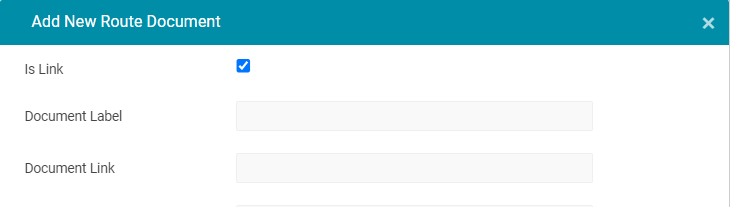
Document Label: a free text field to enter the label for the document.
Document Link: paste the hyperlink to the document.
-
Upload Document: This field is only available when the users do not select to attach a link to the Documents. If this is available, it is mandatory to click the "Select files" button to upload a document.
-
External Id: External identifier is a free text field that allows clients to add the identifiers that are contained in a separate system.
-
Description: A free text field to store a description for the attached document.
Click "Save" to save the route against the record.
Actions
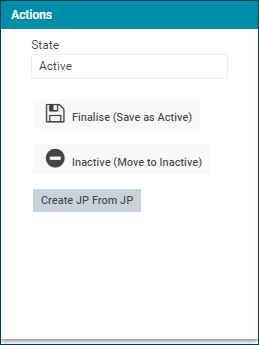
Finalise (Save as Active): Once all the sections in the Job Plan are populated, click on the 'Actions' button and select the 'Finalise (Save as Active)' button to activate the Job Plan and move it to the Active status. The Job Plan is now active and can be used in Preventative Maintenance plans and viewed within the Job Plans "List View" tab.
Inactive (Move to Inactive): An Active Job Plan can also be moved to an Inactive status using the 'Inactive (Move to Inactive)' button. When inactive, any Preventative Maintenance plans that are utilising the Job Plan will ignore the plan during execution, preventing the generation of Work Orders.
Create JP from JP: Create a new copy of an existing Job Plan, for additional details please see the dedicated article here.
